How to Add Payment Links to Your Bio (and When to Use a Checkout Instead)
PayPal, Cash App or your own store: how to list payment links in your bio, when a checkout is the better choice, and how to keep one trusted identity.
On this page
If you already get paid through PayPal, Cash App, Venmo or your own online store, the quickest fix is to add payment links to your bio so followers can find them without asking. Most networks give you very little room for links, so the usual approach is one link in bio page that holds your payment handles, your store and anything you sell. This guide covers how to set that up, when a payment app link is the right choice, when a checkout on the page works better, and how to keep one consistent identity so followers know they are paying the real you.
Payment links or a checkout: which one do you need?
Both approaches get you paid. They suit different situations.
| Payment app link in bio | Checkout on your page | |
|---|---|---|
| What the buyer does | Opens the app, enters an amount, adds a note | Picks a product or tip amount and pays on the page |
| Delivery | You deliver by hand | Digital products arrive automatically |
| Record keeping | Notes in the app, matched by hand | Each order with its total and fees |
| Best for | Invoices, deposits, commissions, people you know | Products and tips from followers you do not know |
A useful test: if you have to send a follow-up message after every payment (“what did you buy? what’s your email?”), you have outgrown payment links for that product. Sell it through a checkout instead and keep payment links for one-off jobs.
How to add payment links to your bio on each network
Instagram lets you add several links to your profile from Edit profile, then Links. Only the first link shows directly under your bio, and the rest sit behind a tap. If you have a payment link, a store and a booking page, put your link in bio page first so everything is reachable from the visible link.
TikTok
TikTok shows a clickable website field only to accounts that meet its eligibility rules, which depend on follower count and account type and vary by region. If you do not see the Website field in Edit profile yet, you can still mention your handle in the bio text, but it will not be tappable. Once the field appears, use it for your link in bio page rather than a single payment link.
YouTube, X and Threads
These networks each have a link field in the profile or channel settings. Use the same page link everywhere, so you only ever update one place when a handle or store changes.
Setting up the payment links themselves
Each payment app gives you a shareable link or handle. A few things to check before you post it publicly:
- PayPal. PayPal.Me gives you a link that opens a payment to you. If you sell goods or services, the buyer should pay as Goods and Services. PayPal’s own guidance says Friends and Family payments are not covered by Buyer Protection, and its user agreement does not allow using them to pay for goods or services. Asking customers to pay that way to avoid a fee is a common scam pattern, so legitimate sellers should not do it.
- Cash App. Your $Cashtag works as a shareable link, and Cash App offers business accounts for people taking payments as a business. Check the current fees in the app before you switch.
- Venmo. Venmo offers business profiles for accepting payments for goods and services. Use one rather than your personal profile if you sell to people you do not know.
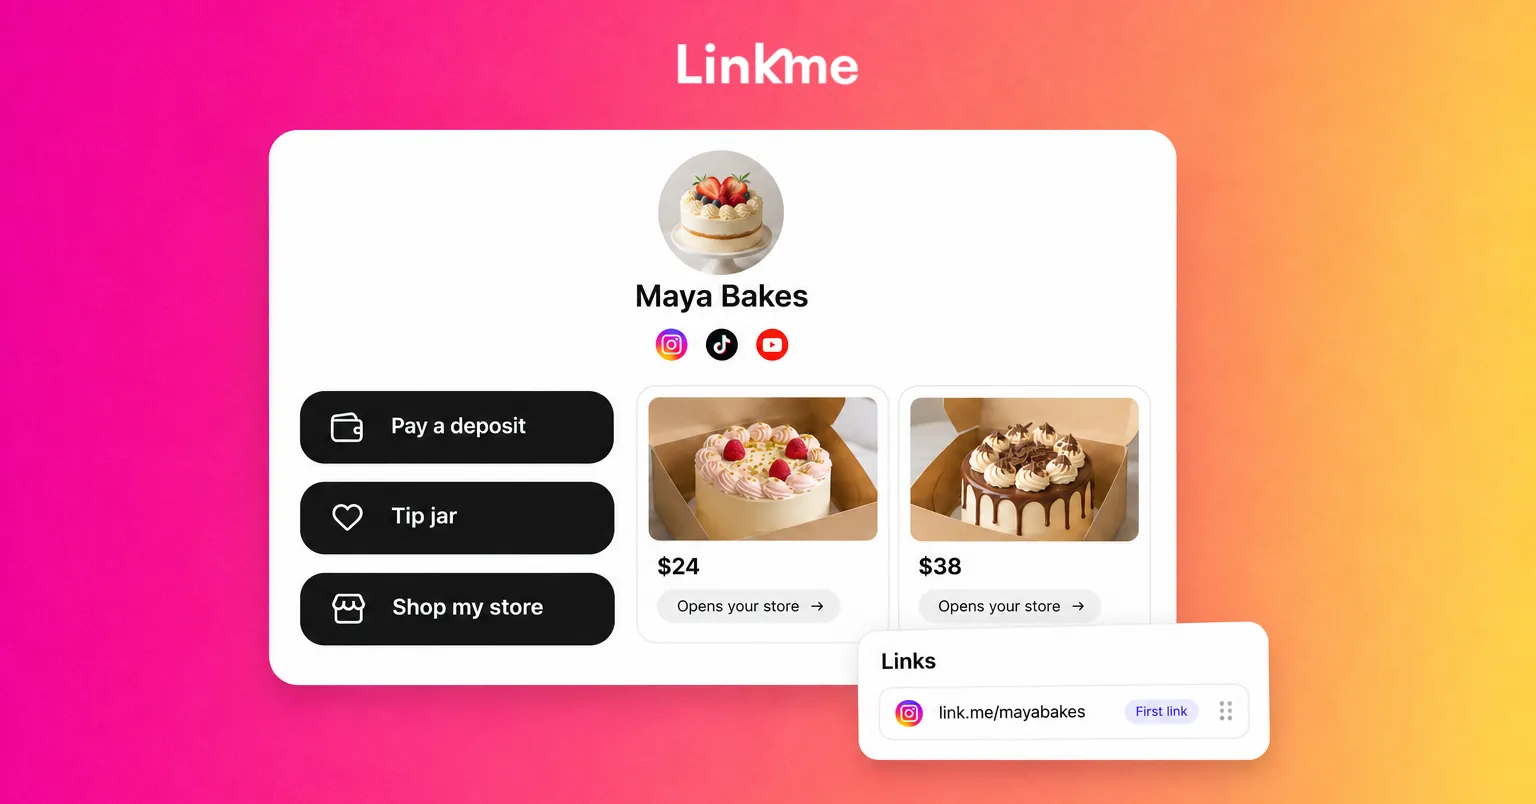
Label each link clearly on your page, for example “Pay a deposit (PayPal)” or “Tip me on Cash App”, so people know what the link is for before they tap.
Link to your online store
If you already sell through your own website, keep that checkout. There is no reason to rebuild a store that works. What you can improve is the path from a post to a product.
On a Linkme page, you can add products you already sell elsewhere as External products, with a title, a price, a photo and the product link. They appear on your page next to anything else you sell, and buyers check out in your own store. Listing products you sell elsewhere is included on the free plan, and the Linkme sales guide shows where each option sits in the dashboard.
When an external product makes sense
- Physical stock you already ship. Your store handles inventory, shipping and returns, and your page simply sends buyers there.
- Products tied to an existing system. Memberships, bookings or bundles your store already manages.
- Affiliate or partner products. Items you recommend that someone else sells. Disclose the relationship clearly.
When a checkout on the page makes more sense
- Digital files you want delivered automatically.
- Tips and pay to unlock posts, which have no natural home in a traditional store.
- Print on demand merch, if you do not want to hold stock.
For those, Linkme’s Sell & Monetize puts a checkout with Apple Pay, Google Pay or a card on the page itself. Many sellers mix both: external links for the products their store already handles, on-page checkout for everything else.
Keep one identity across your socials and storefronts
The more places you can be paid, the easier it is for someone to pretend to be you. Impersonators copy a creator’s photo and name, open a similar handle and ask fans to “send payment here” for fake giveaways or merch. Consistency is your best defense.
- Use the same name and photo on every social profile, payment app and store, so a mismatch stands out.
- Match handles where you can. If your Instagram is @mayabakes, aim for the same handle on TikTok, your store and your payment apps.
- Publish one official list. Your link in bio page is where people should check which accounts and payment links are really yours. Say so in your bio.
- State what you will never do. A short line such as “I will never DM you asking for payment” helps followers recognize a scam.
- Review your links regularly. Remove payment apps you no longer use, and check that every link still opens the right account.
On Linkme, your page can hold platform links to your social accounts, featured links in different sizes and your products in one place, with unlimited links on the free plan. When you change a handle or switch stores, you update the page once and every bio that points to it stays correct.
A quick setup checklist
- Decide which payments you take by app and which you sell through a checkout.
- Switch to business account options on the payment apps you use for sales.
- Create one link in bio page with clear labels for each payment link and your store.
- Add that page to every profile.
- Make a test payment with each link from a phone, inside the Instagram or TikTok browser.
- Add a line to your bio or page saying where your official links live.
Frequently asked questions
How do I add a Cash App or PayPal link to my Instagram bio?
Copy your $Cashtag link or PayPal.Me link and add it in Edit profile, then Links. Because Instagram shows only the first link directly, many people add a link in bio page first and list their payment links on that page, each with a clear label.
Is it safe to put payment links in a bio?
The links themselves are public by design, since anyone who has your handle can already find you. The risks come from impersonators and from taking sales as personal transfers. Use business account options when you sell, ask buyers to pay as goods and services, and keep one official page that lists your real links.
Should I use payment links or a checkout for selling products?
Use a checkout for products sold to followers you do not know, especially digital files, because it records each order and delivers automatically. Payment links work best for invoices, deposits and one-off work where you already know who is paying and what for.
Can I list products from my own store on my link in bio page?
Yes. On Linkme you can add products you sell elsewhere as External products with a title, price, photo and link. Buyers see them on your page and check out in your existing store.