Linkme for Beginners: Set Up Your Page, First Post and First Automation
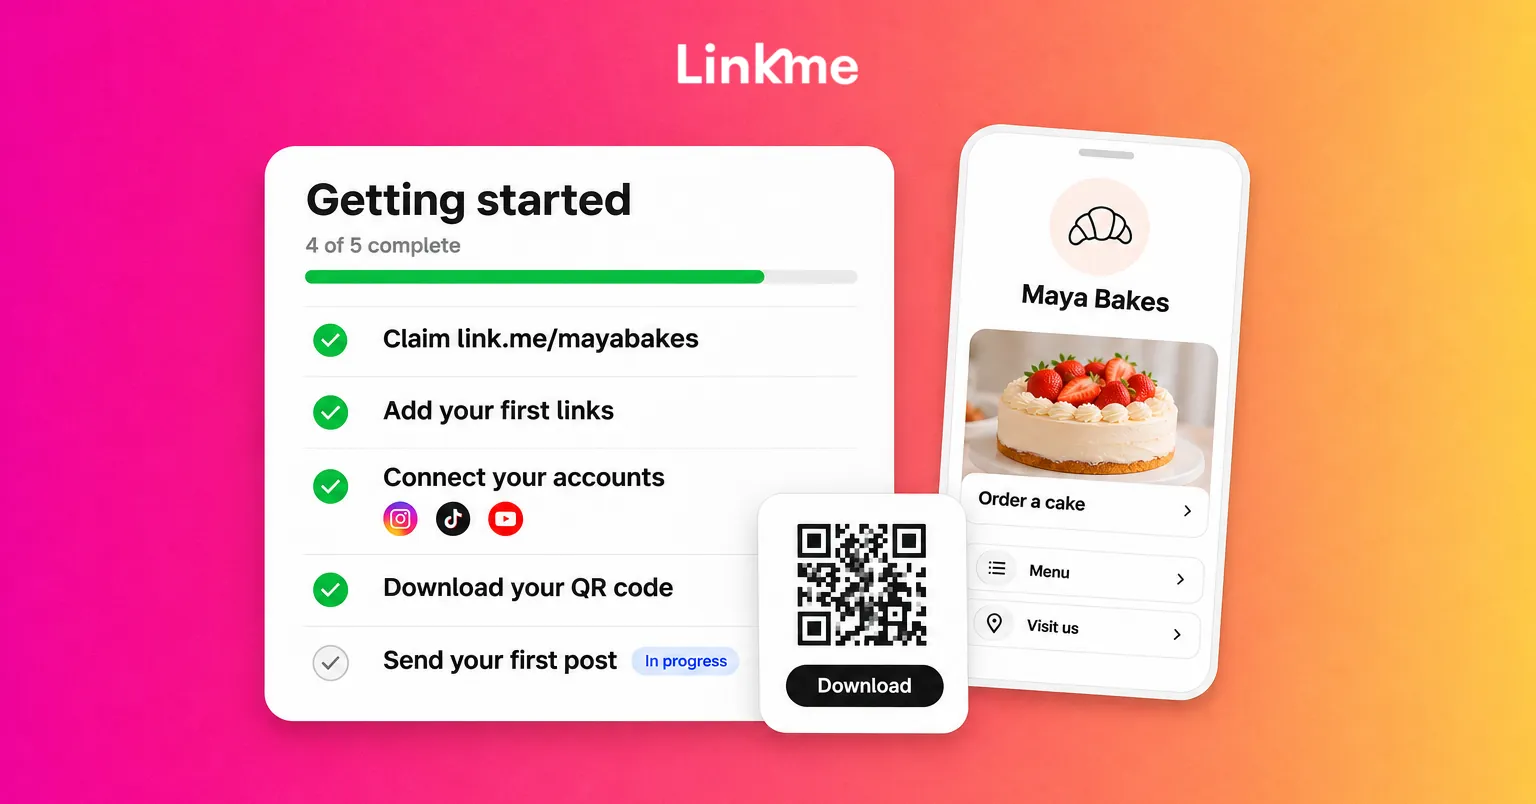
Your first hour on Linkme, in order: claim link.me/yourname, add links and sections, connect accounts, download your QR code, send a first post and build an automation.
On this page
- Key takeaways
- What Linkme does, in one paragraph
- What the free plan covers
- Step 1: Claim your username
- Step 2: Add your photo, bio and first links
- Step 3: Switch on the sections you need
- Step 4: Connect your social accounts
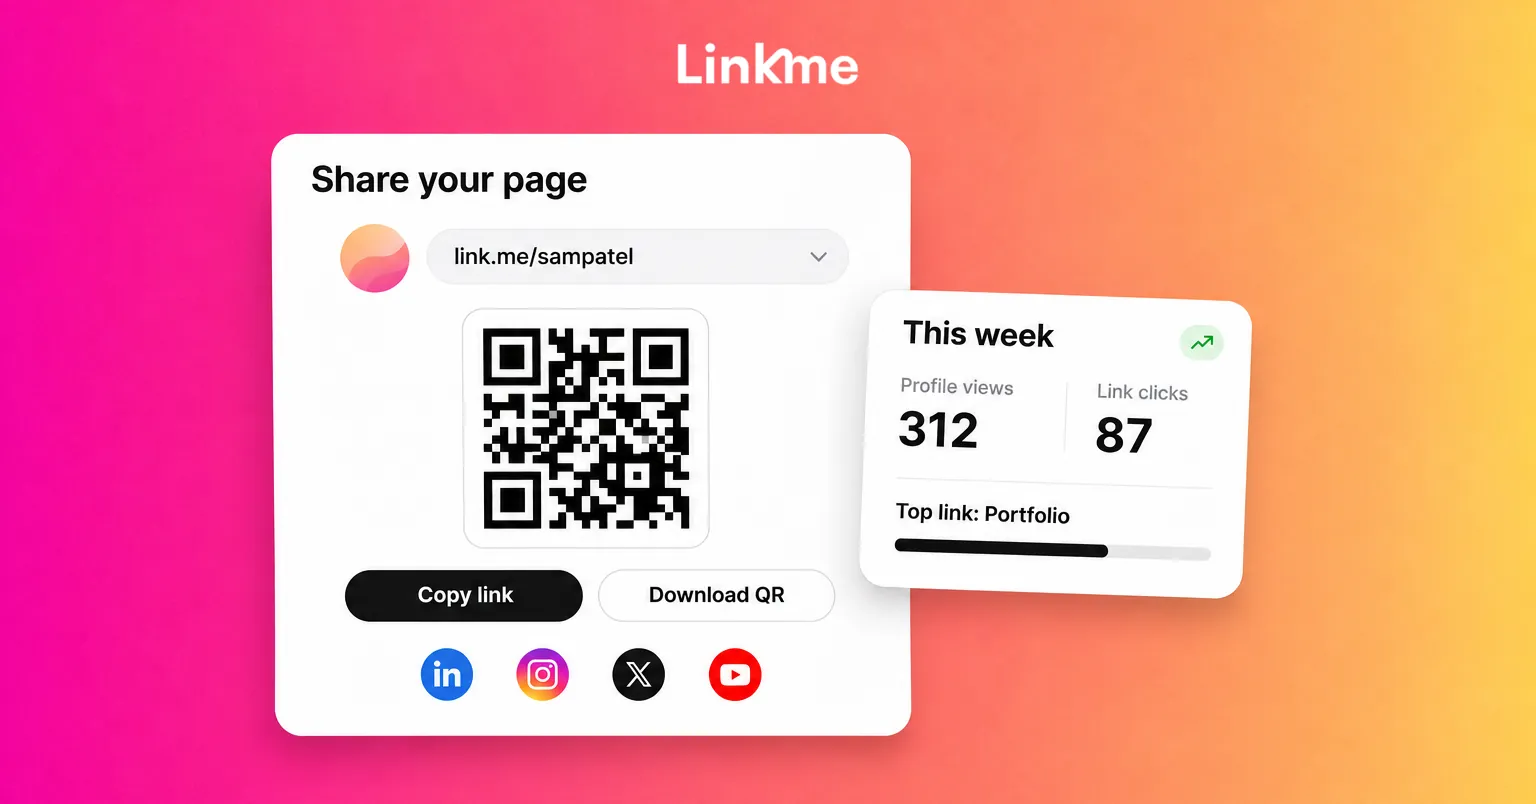
- Step 5: Download your QR code
- Step 6: Send your first post with Post to All
- Step 7: Build your first automation
- Step 8: Share your page and check what happens
- Frequently asked questions
This is Linkme for beginners: the first hour of setup, in the order that makes sense. You will claim your page at link.me/yourname, add your links and sections, connect your social accounts, download your QR code, send your first post to several networks at once and build your first comment automation. Everything here works on the free plan, and the guide notes where a paid plan adds more.
What Linkme does, in one paragraph
Linkme is a page at link.me/yourname plus the tools behind it. Post to All publishes one post to YouTube, Instagram, TikTok, Facebook, X, Threads and LinkedIn at once. DM automations reply to comments and messages on Instagram and Facebook Pages for you. A shop sells merch, downloads and courses from the same link, and analytics and lead capture are built in. You can use it on the web or in the iPhone and Android apps.
What the free plan covers
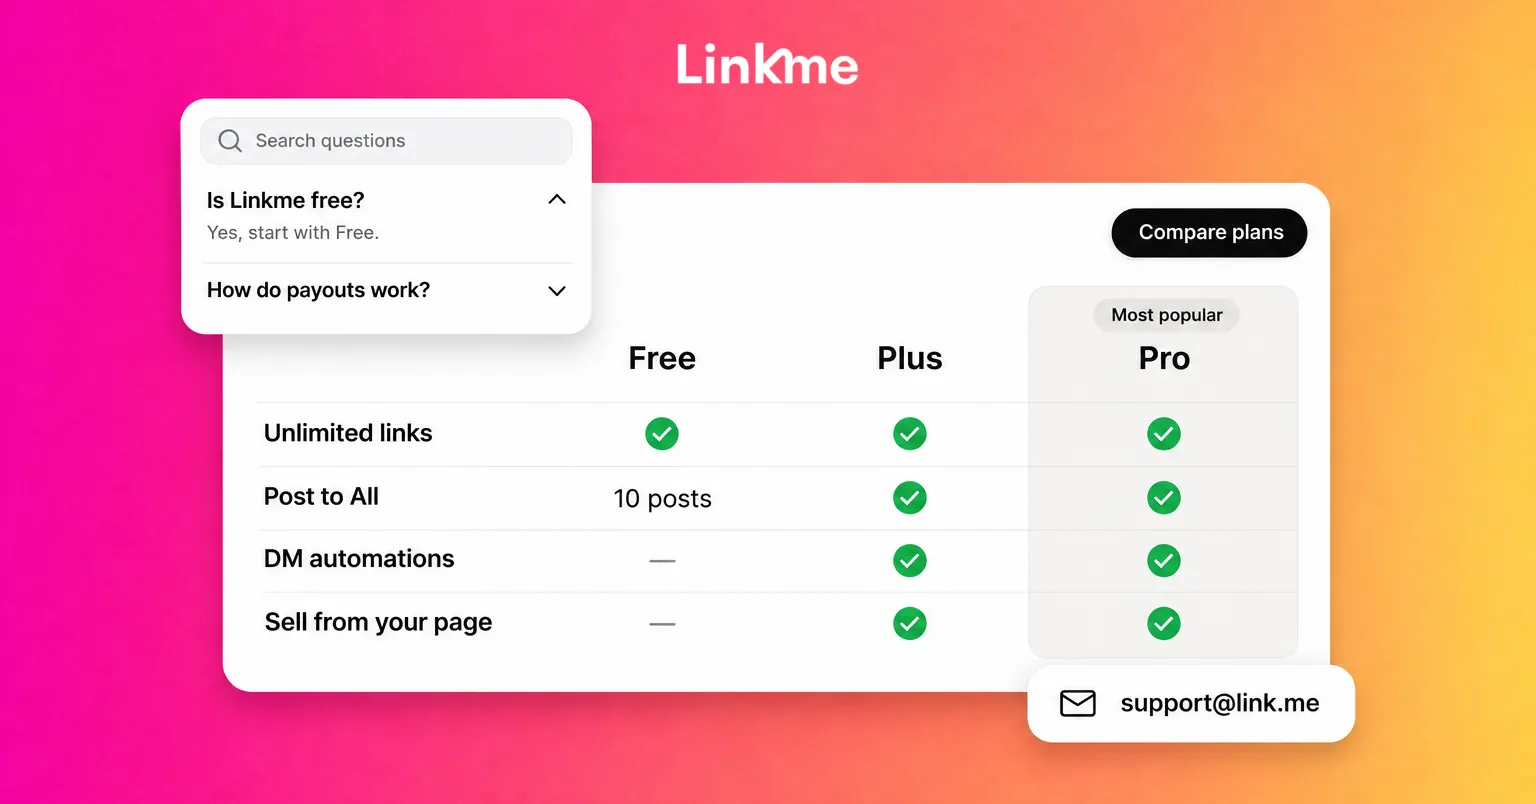
| On the free plan | Comes with Plus or Pro |
|---|---|
| Your page with unlimited links | Link scheduler, forms and the verification badge (Plus) |
| Tips, merch and links to products you sell elsewhere | Digital products and courses (Plus) |
| Profile visits and link clicks | Advanced analytics (Plus), real-time analytics (Pro) |
| 10 Post to All posts in total, one account per network | Unlimited posts (Plus), up to 10 accounts per network (Pro) |
| Up to 3 keyword automations | Higher limits (Plus), no automation limits (Pro) |
The free plan needs no card, and your page carries a Powered by Linkme badge. The pricing page has the full comparison.
Step 1: Claim your username
Your username becomes your address, so choose it with care.
- Match your other handles. If you are @mayabakes on Instagram, try link.me/mayabakes so people recognize it.
- Keep it short and easy to spell out loud. You will say it in videos and print it on signs.
- Avoid numbers and underscores unless they are already part of your brand.
As soon as you pick a username at signup, your page is live.
Step 2: Add your photo, bio and first links
Open Edit Profile on your dashboard.
- Add a clear profile photo or logo and a one-line bio that says what you do and what visitors will find.
- Go to Featured Links, paste a URL and give it a short label. Labels like “Shop the new collection” work better than a bare web address.
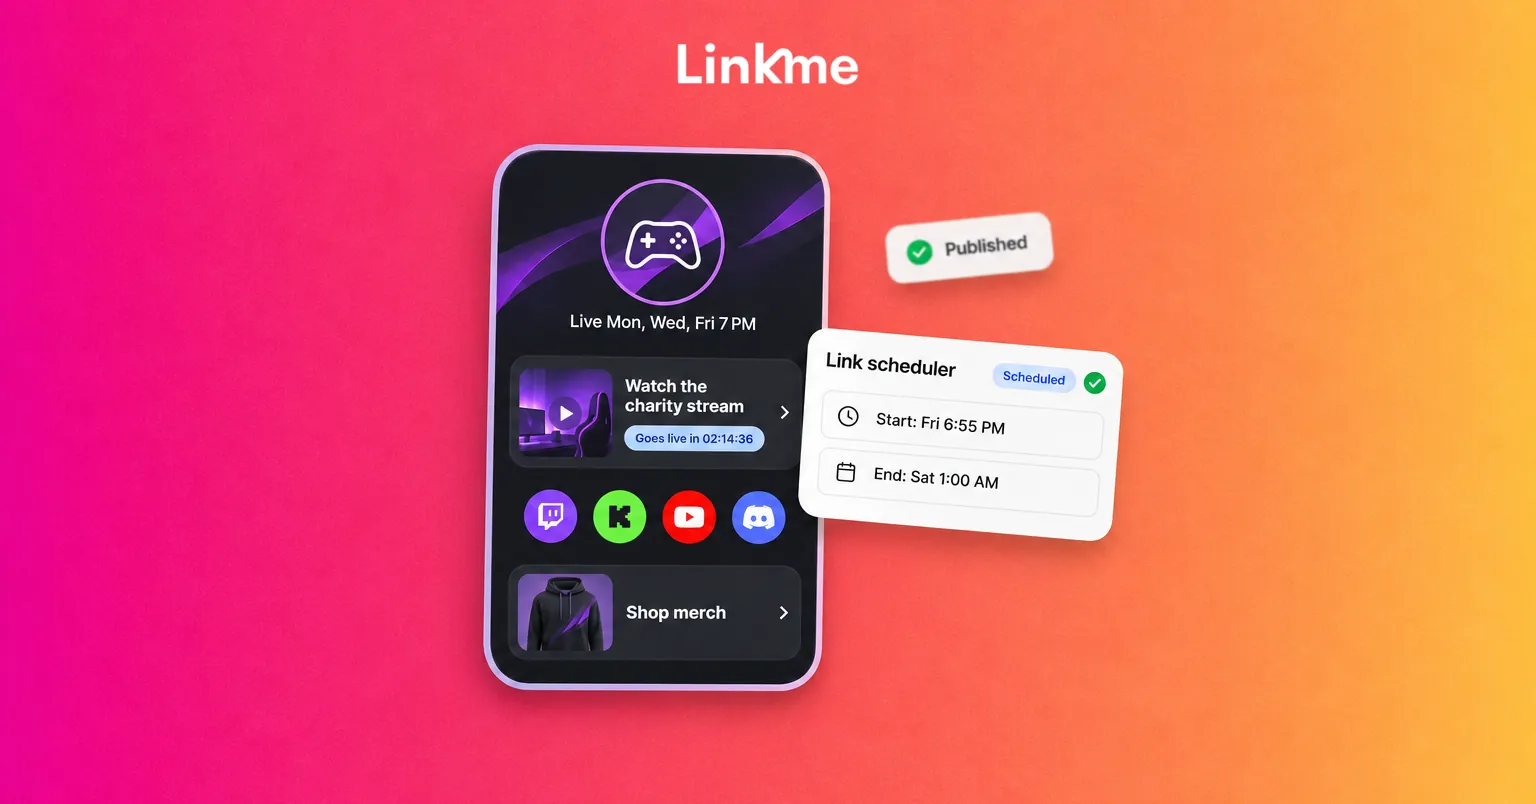
- Choose a size for each link: small, medium, big or a button. Give your most important link the biggest size and a thumbnail.
- Drag links into order. The link you most want tapped goes at the top.
Start with three to five links. You can add as many as you want later, but a short page is easier to get right first. The Links & websites guide covers icons, thumbnails, carousels and autoplaying YouTube links.
Step 3: Switch on the sections you need
Beyond links, your page can show your social accounts, a photo and video gallery, contact info, a form and events. You can also switch on sections for your merch and products, courses, a smart music link, your Instagram and TikTok videos and Google Reviews.
Turn on only what you have content for. An empty events section looks worse than none. Then drag sections into the order a visitor needs them.
Step 4: Connect your social accounts
Connecting accounts powers the publishing and automation tools.
- For Post to All, open Post to and press Connect on each network. You sign in once, and the account appears for every post after that. On the free plan, you connect one account per network.
- For automations, you need an Instagram Business account or a Facebook Page you manage. Connect one or both from the Automations page.
If a network signs you out later, the account shows Reconnect. Reconnect it before your next post.
Step 5: Download your QR code
Every page has one QR code that opens link.me/yourname. Open Your QR Code from the dashboard top bar and press Download to get an image ready for print.
The code never changes when you edit the page, so you can put it on business cards, menus, packaging or a sign now and keep updating what it opens. Each scan counts as a visit in your profile views.
Step 6: Send your first post with Post to All
Pick something simple for your first post, such as a short video introducing yourself or your business.
- Open Post to All and upload your video or photos.
- Write one caption. If a network needs a different one, open its tab and edit it there. Limits are checked as you type, for example 280 characters on X and 2,200 on Instagram.
- Select the networks you want.
- Post now, or set a date and time to schedule it.
Each network then shows its own status: Scheduled, Processing, Published or Failed. If one network fails, retry just that one. Videos can run up to 3 minutes on every plan. The Post to All guide walks through each screen.
The free plan includes 10 posts in total, so use them for posts you would have published anyway and see how much time it saves.
Step 7: Build your first automation
A comment automation is a good first one. When someone comments a keyword on your post, Linkme replies publicly and sends them a DM with your link.
- Open Automations and choose to auto-DM commenters.
- Pick a post and a keyword, such as “LINK” or “MENU”.
- Write the public reply and the DM. Add a few reply variations so it does not sound the same every time.
- Put your Linkme page or a specific product in the DM, and activate.
Then mention the keyword in your caption: “Comment MENU and I’ll send it to you.” The free plan includes up to 3 keyword automations. The automations guide explains the other types, including replies to incoming DMs.
Step 8: Share your page and check what happens
Paste link.me/yourname into your bio on every network, your email signature and your messages. After a week, open your analytics to see profile visits, link clicks and how many clicks each link got.
Use that first week of numbers to make one change: move the most-tapped link higher, rename a link nobody taps or remove it.
Frequently asked questions
Is Linkme free to use?
Yes. The free plan includes your page with unlimited links, tips, merch, links to products you sell elsewhere, basic analytics, 10 Post to All posts in total and up to 3 keyword automations. Plus and Pro add more posts, selling tools, forms and deeper analytics.
Do I need the app to use Linkme?
No. You can create your page for free on the web and run it from there. The Linkme app for iPhone and Android is there when you want to take your page with you.
Which networks can I post to from Linkme?
Post to All publishes to YouTube, Instagram, TikTok, Facebook, X, Threads and LinkedIn. On the free plan and Plus, you connect one account per network; Pro connects up to 10.
What happens to my QR code if I change my page?
Nothing. The QR code always opens link.me/yourname, so every edit shows up for people who scan a code you have already printed.
That is a working setup: a live page, a printed code, a first post and an automation running in the background. When you are ready for the next feature, the Linkme guides have a step-by-step walkthrough for each one.