How to Schedule Instagram Posts: A Practical Guide
Learn how to schedule Instagram posts, choose a publishing method, manage scheduled content and troubleshoot account, timing and approval issues.
On this page
- Key takeaways
- Choose how you want to schedule Instagram posts
- Check your account and content before scheduling
- How to schedule Instagram posts with Linkme
- How to schedule a post or Reel in the Instagram app
- When Meta Business Suite is another option
- Find, edit, reschedule or cancel scheduled content
- Troubleshoot missing controls and failed Instagram posts
- A practical scheduling example and final check
- Frequently asked questions
- Make your Instagram schedule easier to manage
To schedule an Instagram post, prepare the content, select the account and publication time, confirm it is queued, then check that it publishes. You can do that in Instagram’s own app or through a publishing workspace such as Linkme. Meta Business Suite provides another option for managing Facebook and Instagram content.
The right method depends on what you are publishing and who needs to review it. A solo business owner scheduling a photo has a different workflow from a team preparing several accounts for a launch.
This guide explains how to choose a route, prepare the content, schedule it and handle changes without losing track of what is due to publish.
Choose how you want to schedule Instagram posts
| Method | Useful situation | What to check |
|---|---|---|
| Linkme | Your business needs shared preparation, scheduling and permission-dependent reviews | Connected Instagram account, supported media, workspace timezone and who can release the post |
| Instagram app | You want to prepare content in Instagram itself | Public-account eligibility, available scheduling controls and compatible post features |
| Meta Business Suite | You manage Facebook and Instagram through Meta’s business tools | Access to the intended account and the scheduling options for your content |
A native option can suit straightforward scheduling. A shared publishing workspace becomes useful when several people prepare content, someone checks it before release or you need to track upcoming posts across accounts.
Automatic publishing and reminders are different
With automatic publication, the tool sends supported content at the time you set. A reminder instead prompts someone to finish publishing. Confirm which behavior your chosen method provides for the post you are preparing.
If a person needs to complete the post, assign that task before treating the campaign as ready. A date in a planning document is also different from a post confirmed in a publishing queue.
Check your account and content before scheduling
Start with the account you intend to publish from. Confirm you have access, that any required connection is healthy and that the selected method supports the content you want to use.
Meta’s current guidance allows public Instagram accounts to schedule photos, carousels and Reels. Third-party connections have their own account requirements, so do not assume the same setup applies to every route.
Linkme supports Instagram feed and Reel scheduling. Prepare the image, carousel or video, then check the composer’s preview and format validation. A feature available when you publish inside Instagram may not be available through every publishing tool.
If the post depends on music, interactive elements, collaboration or product features, check compatibility before committing it to the schedule. Instagram’s in-app scheduling does not support collaborative posts, product tagging, sponsored posts or fundraisers.
Stories need their own check. Meta offers Story scheduling through Business Suite and some subscription features, but access depends on the method and account. The Linkme workflow below covers feed posts and Reels.
How to schedule Instagram posts with Linkme
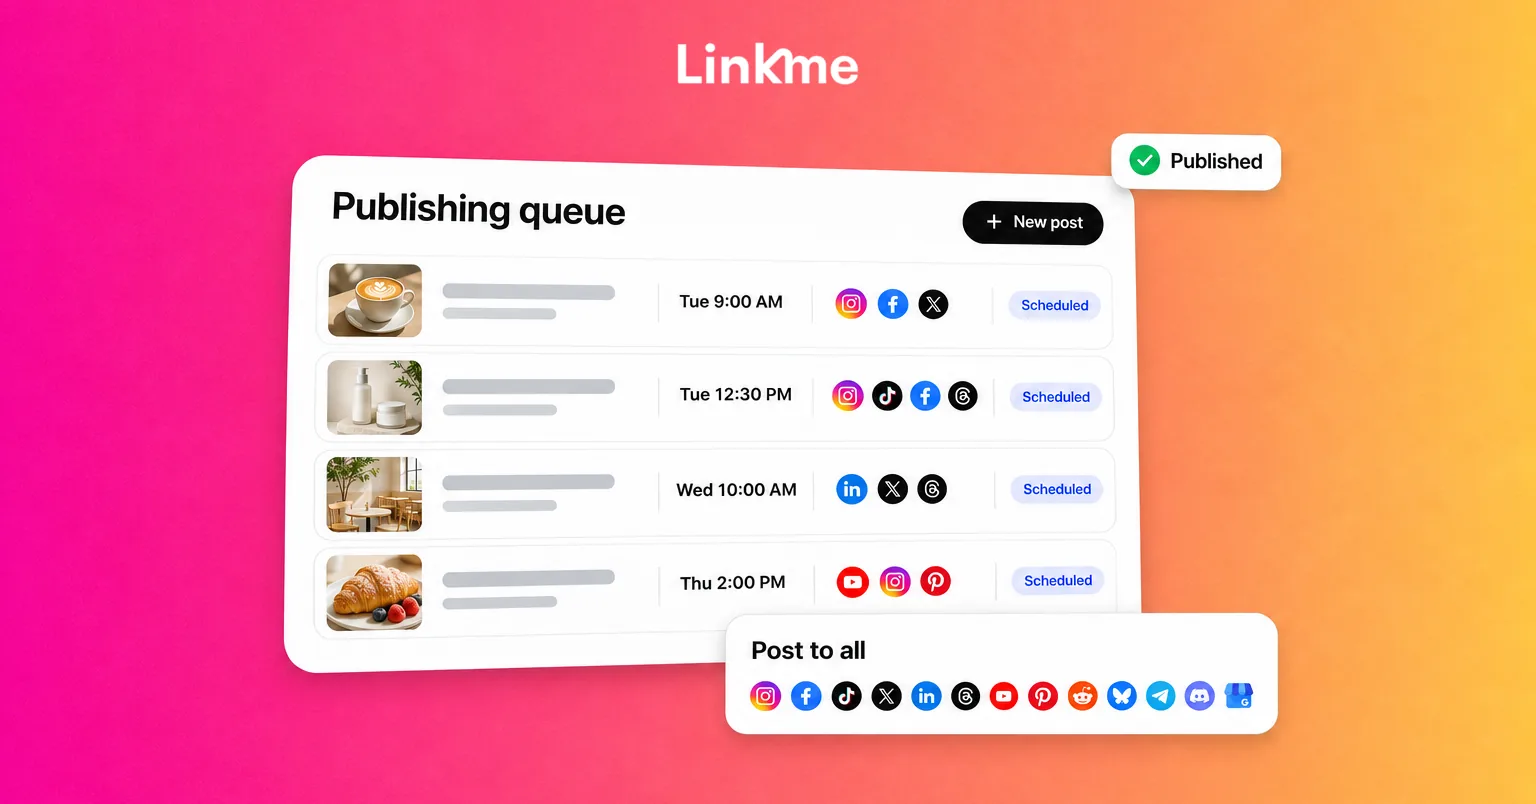
Linkme’s social publishing and scheduling tools connect content preparation with a publishing calendar, review and publication-status checks.
1. Connect and select the intended Instagram account
Use the connection control under Post to and authorize the account you want to use. If the account shows Reconnect, resolve that warning before including it in a scheduled post.
For a business managing several profiles, check the selected account by name rather than relying on the last one used. Your Business package determines the account allowance.
2. Prepare the media and Instagram caption
Open the publishing composer and add the supported image, carousel or Reel/video. Write the Instagram caption and check the preview.
Confirm the details that matter to the post: the correct product or event, any dates or prices, the selected media and the next action. If you want people to book or read more, make the relevant destination easy to find through a supported link placement. A URL written in a caption should not be assumed to become clickable.
Use the composer’s displayed validation for the actual file and format. Fix a rejected asset before the scheduled publication time approaches.
3. Set the publication time and check the timezone
Choose the date and time, then verify the Business workspace timezone. Do not assume it matches the clock on the computer you are using.
Keep Instagram selected as the destination unless the campaign also needs other networks. If it does, adapt those versions to their own audience and format rather than sending every post everywhere by default.
Choose a time that fits the audience and the business action. An announcement needs to arrive before people make the relevant decision, with enough time for your team to handle questions or correct a problem.
4. Complete review where your permissions require it
Check whether the post needs approval before publication. Linkme’s requirements depend on the user’s permissions; an owner or admin may publish directly, while another team member may need to submit for review.
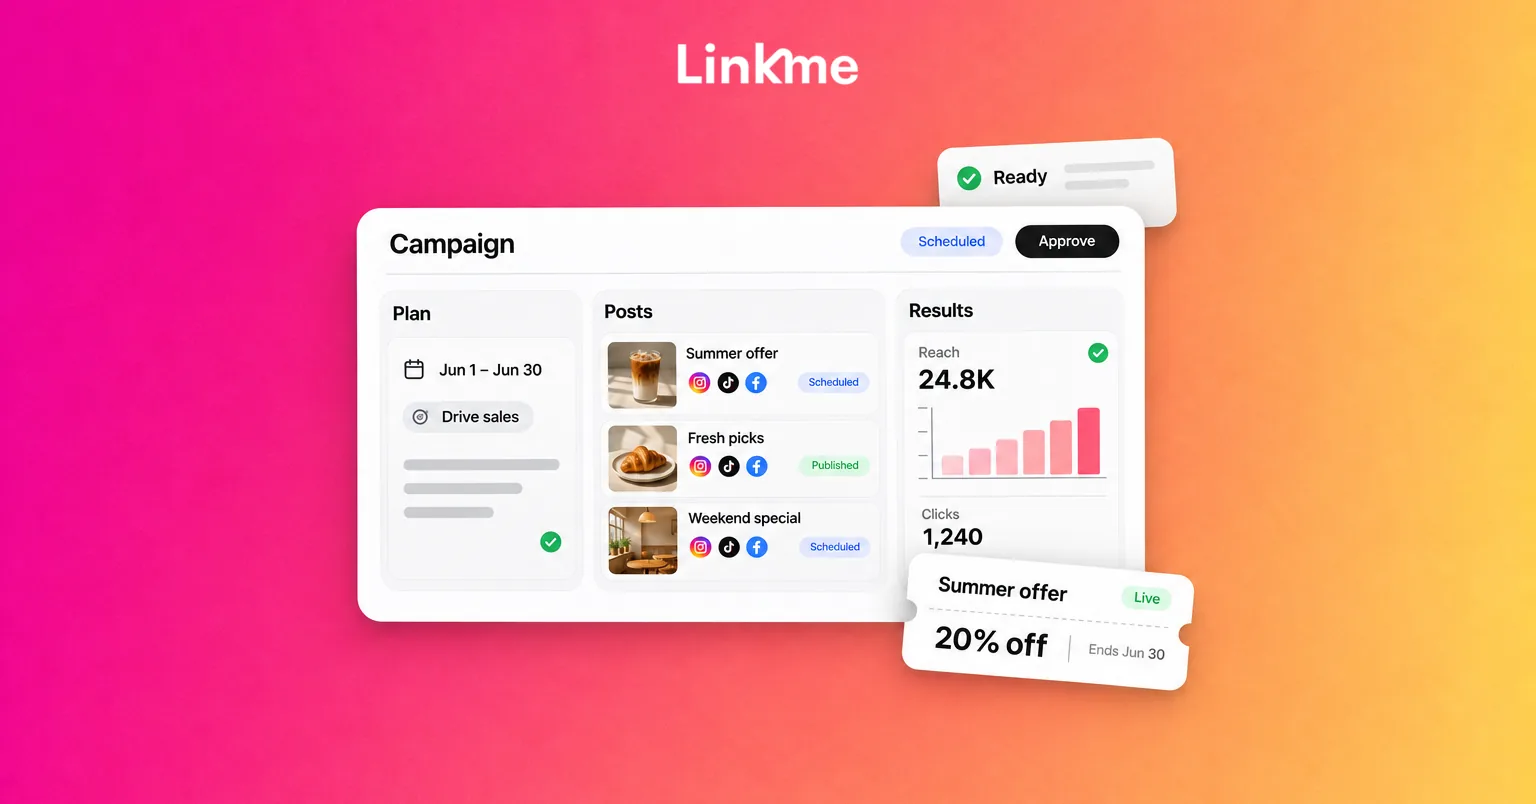
For this handoff, see how to review posts before they publish. Make clear who checks the facts and who can approve release.
Keep drafts, posts waiting for approval and posts ready for scheduled publication distinct. If the caption or time changes, check whether renewed approval is required. Before approving an overdue post, confirm that the message and timing still make sense: approval may release a post whose original publication time has passed.
Confirm the schedule, or submit the post for any required approval, then check its saved status.
5. Confirm the scheduled entry and verify publication
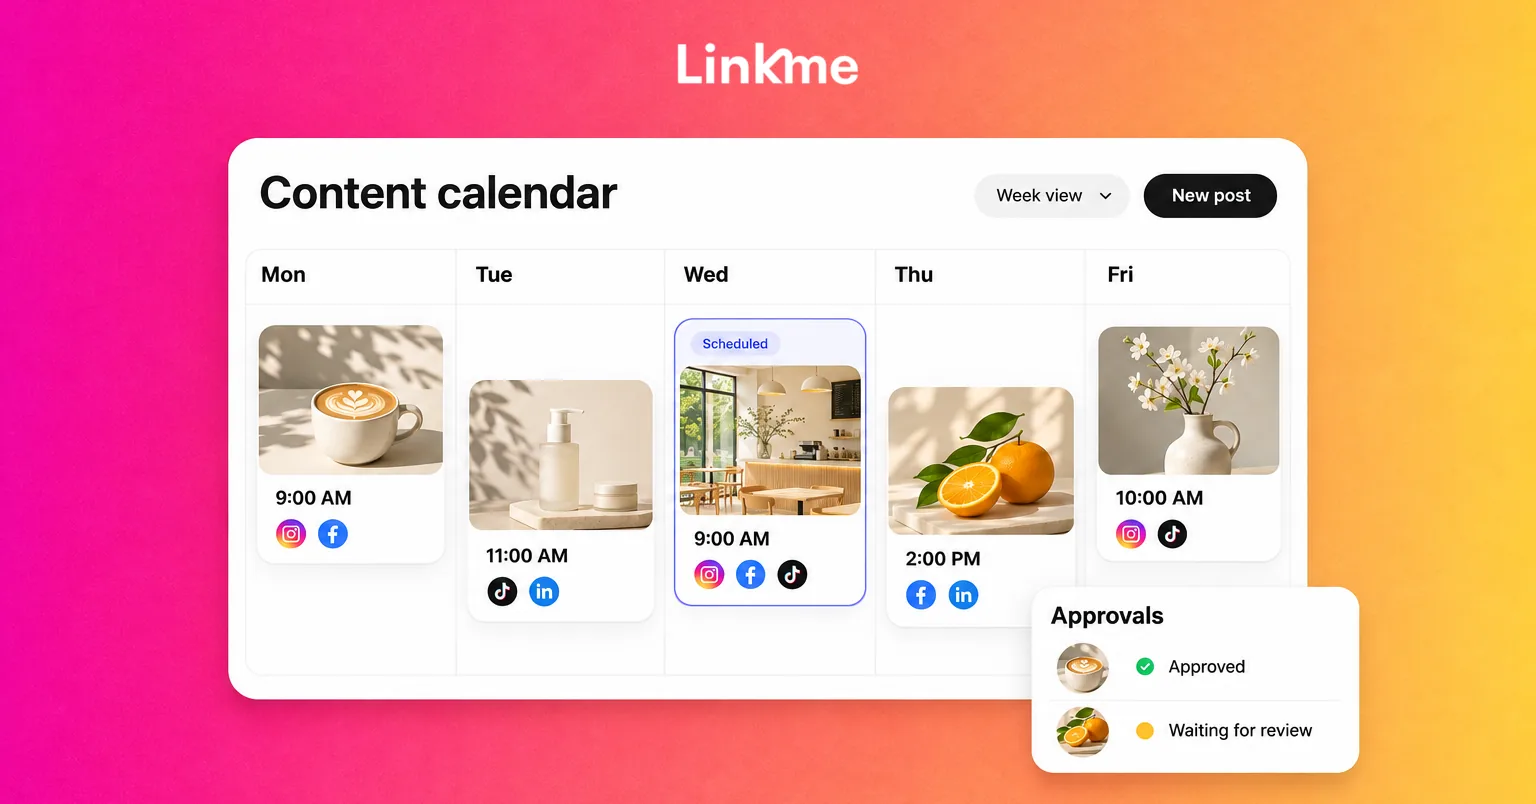
Find the item in Plan or the publishing calendar. Check the account, date, time and status once more.
After the scheduled time, confirm the result on Instagram. If publishing failed, read the displayed issue, fix the relevant problem and retry that network. Check for an already-live copy before posting manually so a recovery attempt does not create a duplicate.
How to schedule a post or Reel in the Instagram app
For an eligible public account, the native sequence is:
- Start creating a post or Reel and choose your media.
- Prepare the caption and edits.
- Open More options.
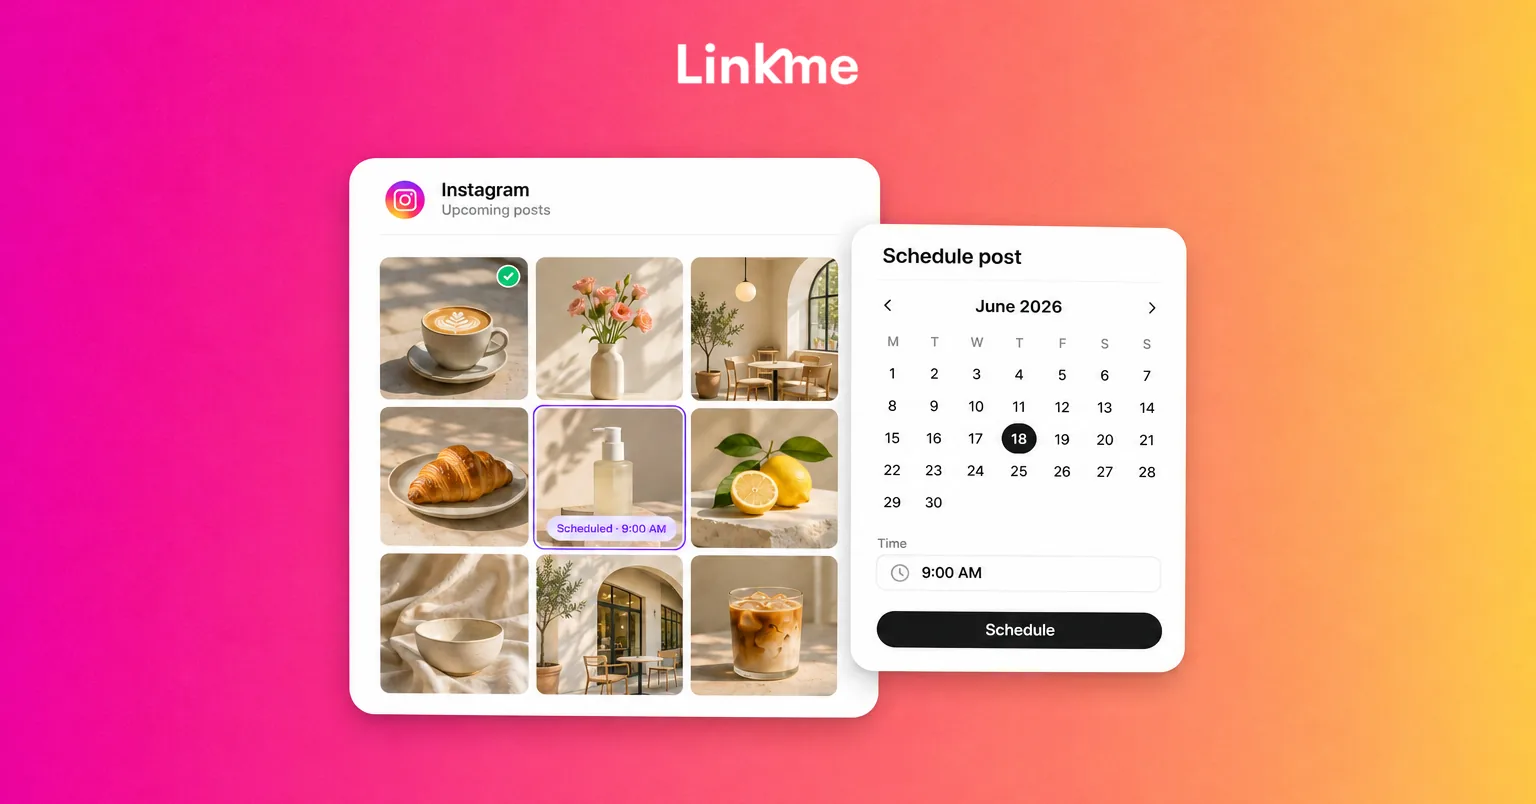
- Enable Schedule this post or Schedule this reel, then select the date and time.
- Confirm with Done, go Back, then tap Schedule.
Check the account before you begin and review the saved item afterward. For a carousel, review the sequence as well as the caption so the opening image and following slides tell the intended story.
Keep a reusable copy of your caption and original media while preparing a campaign. That makes later changes easier to coordinate, particularly when someone else needs to confirm a date, offer or booking detail.
When Meta Business Suite is another option
Meta Business Suite supports scheduling Facebook and Instagram posts and Stories. It can be relevant when your content work already happens in Meta’s business tools.
Before choosing it for a campaign, establish who manages the Instagram account and who has the access needed to publish. Confirm the intended account and content type rather than assuming that a Facebook publishing option also applies to Instagram.
Meta’s official Business Suite course includes a lesson on scheduling posts and Stories. The lesson requires signing in. Keep the post’s account, timing and publication check in your campaign record when using that route.
Find, edit, reschedule or cancel scheduled content
Start in the tool where you scheduled the item, using the correct account. A saved draft does not mean a post is queued to publish.
In Instagram, open your profile menu, select Scheduled content, then the item’s Options. You can edit, reschedule, delete or share it immediately.
In Linkme, return to the calendar or post entry, make the supported change and check the resulting timing and review state. An edit that returns a post for approval needs attention before you consider the revised schedule ready.
Check what the selected tool actually allows you to change. If you need to replace an item, confirm what happened to the original before scheduling another copy. Keep the latest caption, asset and date together so the person reviewing the campaign can identify the intended version.
Troubleshoot missing controls and failed Instagram posts
| Problem | What to check | What to do next |
|---|---|---|
| Scheduling controls are missing | Account eligibility and whether the post uses incompatible features | Check the requirements for that method; changing account type is not a guaranteed fix |
| Instagram is missing from a tool | Selected account, access and authorization | Resolve the connection or permission warning before scheduling |
| Media or a feature is rejected | Format validation and feature support | Adjust the content or choose a method that supports what the post needs |
| The post is waiting for approval | Reviewer, recent edits and intended publication time | Complete the required review and recheck timing before release |
| The publication time looks wrong | Whether the post is queued or live, stored time and the method’s timezone | Correct a queued time; assess any necessary action on a live post and fix future settings |
| A post did not publish | Publishing status, reported error and whether it is visible on Instagram | Resolve the issue, then retry without duplicating a live post |
| A scheduled item seems missing | Original tool, correct profile and status filter | Find the original queue before creating a replacement |
Treat the displayed error as the starting point. Reconnecting an account will not fix every problem, and a post waiting for review needs a different response from a rejected media file.
A practical scheduling example and final check
Imagine a local studio announcing a new class. The team has a short introduction clip, a confirmed class date and an existing booking page. This hypothetical workflow shows how preparation, review and scheduling fit together.
| Stage | Example action | Owner and check |
|---|---|---|
| Prepare | Create the class-introduction clip and caption with confirmed booking details | Marketer checks the asset and next action |
| Review | Confirm class date, capacity information, wording and Instagram account | Studio manager checks facts; permissions determine the required sign-off |
| Schedule | Choose a publication slot before booking decisions and verify the timezone | Person scheduling checks the stored date and time |
| Change | Class details change before publication | Responsible team member updates the content and completes any renewed review |
| Verify | Confirm the post is live and the booking route is correct | Marketer checks Instagram and answers relevant questions |
If the class changes after the content is scheduled, update the queued post before it publishes. If it has already gone live, assess the needed correction on the live post and its destination.
Before release, check:
- The correct Instagram account is selected.
- The format and required features are supported.
- The media, caption and next action are accurate.
- The date, time and timezone match the campaign.
- Any required review is complete.
- The post is confirmed in the schedule.
- Someone is responsible for changes and the final publication check.
Frequently asked questions
Can I schedule Instagram posts for free?
Eligible public accounts can schedule in the Instagram app without a subscription. Some additional features require paid plans. Choose based on the content and workflow you need.
Can I schedule posts from a computer?
Linkme provides a business publishing workflow from a computer. Meta Business Suite also supports managing and scheduling Instagram content. Confirm the account access and supported format for the route you choose.
Can I schedule Reels and Stories the same way?
Check each format separately. A feed/Reel workflow does not establish support for every Story feature. Meta’s Business Suite and eligible subscription features include Story scheduling; the Linkme steps in this guide cover feed posts and Reels.
How far in advance can I schedule Instagram posts?
The app’s baseline window is 30 days. Eligible Meta One Advanced, Expert and Max accounts can extend it to 365 days; that extension excludes teens. Check the date picker for other tools instead of applying Instagram’s window to every method.
Keep the practical planning window separate from the maximum allowed. A time-sensitive promotion still needs review when availability, pricing or campaign details change.
Make your Instagram schedule easier to manage
A useful schedule tells the team what will publish, where it will appear, when it is due and what must happen first. Verify the published result so the plan connects to an actual post.
If your team needs shared preparation, permission-dependent reviews and a clear view of upcoming content, explore Linkme for Business and book a demo.