How to Schedule LinkedIn Posts: Profiles and Company Pages
Learn how to schedule LinkedIn posts for personal profiles and company Pages, manage scheduled content and coordinate reviews with your team.
On this page
- Key takeaways
- Choose how you want to schedule your LinkedIn post
- Check your account, format and time before scheduling
- How to schedule LinkedIn posts with Linkme
- How to schedule a post on your personal LinkedIn profile
- How to schedule a LinkedIn company Page post
- Find, edit, reschedule or delete a scheduled LinkedIn post
- Why your LinkedIn post will not schedule or publish
- A practical business scheduling example
- Frequently asked questions
- Keep preparation, review and publication connected
You can schedule LinkedIn posts directly from your personal profile or, with the right admin role, from a company Page. You can also use Linkme to prepare, review and schedule content for a connected LinkedIn destination alongside your other social content.
Start by checking who the post should come from. Your personal profile and your company Page have different scheduling requirements, and each has its own queue. Then prepare the post, choose a publication time and confirm that it has been scheduled.
Choose how you want to schedule your LinkedIn post
| Route | When it fits | What to check first |
|---|---|---|
| Linkme | Your team prepares, reviews and schedules business content alongside posts for other connected networks. | Select the intended LinkedIn destination available in the connection and check its format and publishing permissions. |
| Native personal profile | You want to schedule a professional update under your own name. | Open your profile’s composer and manage the post in its queue. |
| Native company Page | You want to schedule an update directly for a business Page. | Open the correct Page’s admin view with super admin or content admin access. |
Native Page scheduling already lets eligible admins manage posts scheduled by other Page admins. A separate workspace becomes useful when your process also involves shared drafts, review deadlines, required sign-off and coordination with content for other networks.
Check your account, format and time before scheduling
The requirements depend on the route you use.
| Route | Timing and access | Format considerations |
|---|---|---|
| Native personal profile | Schedule from 10 minutes to three months ahead. The time uses your device’s timezone settings. | LinkedIn excludes Events and Jobs from this scheduling route. Check the composer for the format you intend to use. |
| Native company Page | Super admins and content admins can schedule from one hour to three months ahead. The time is based on your location. | Native Page scheduling excludes events, multiple-photo posts, reshares, polls, jobs and service posts. |
| Linkme | Use the available scheduling range in the composer. Business scheduling uses the Business timezone. | Prepare text, images or video accepted by the selected LinkedIn destination. Linkme’s LinkedIn composer supports captions up to 3,000 characters and photo carousels up to 20 images. Check the preview and validation before scheduling. |
A photo carousel, an uploaded PDF document and a LinkedIn article are different formats. Do not select a photo-upload option and expect it to publish a PDF. LinkedIn articles and newsletter editions also have a separate publishing editor with its own scheduling option.
For any route, check the author or Page name, post text, attachment, destination link and intended audience using the available controls. A standard update promoting a webinar is different from creating a LinkedIn Event.
How to schedule LinkedIn posts with Linkme
You can schedule LinkedIn posts with Linkme while keeping preparation, review and upcoming content in the same workspace.
1. Connect and select the intended LinkedIn destination
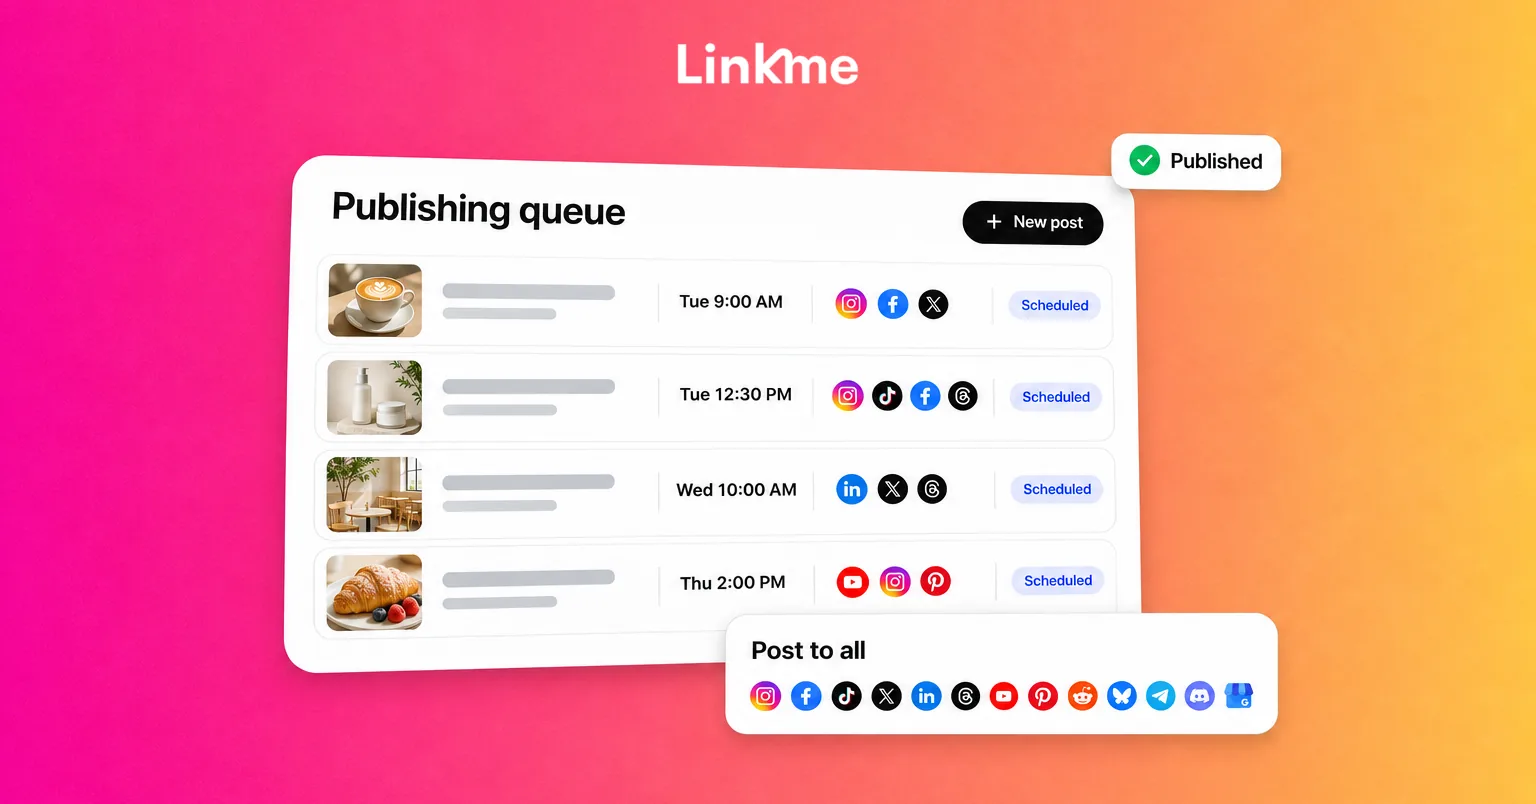
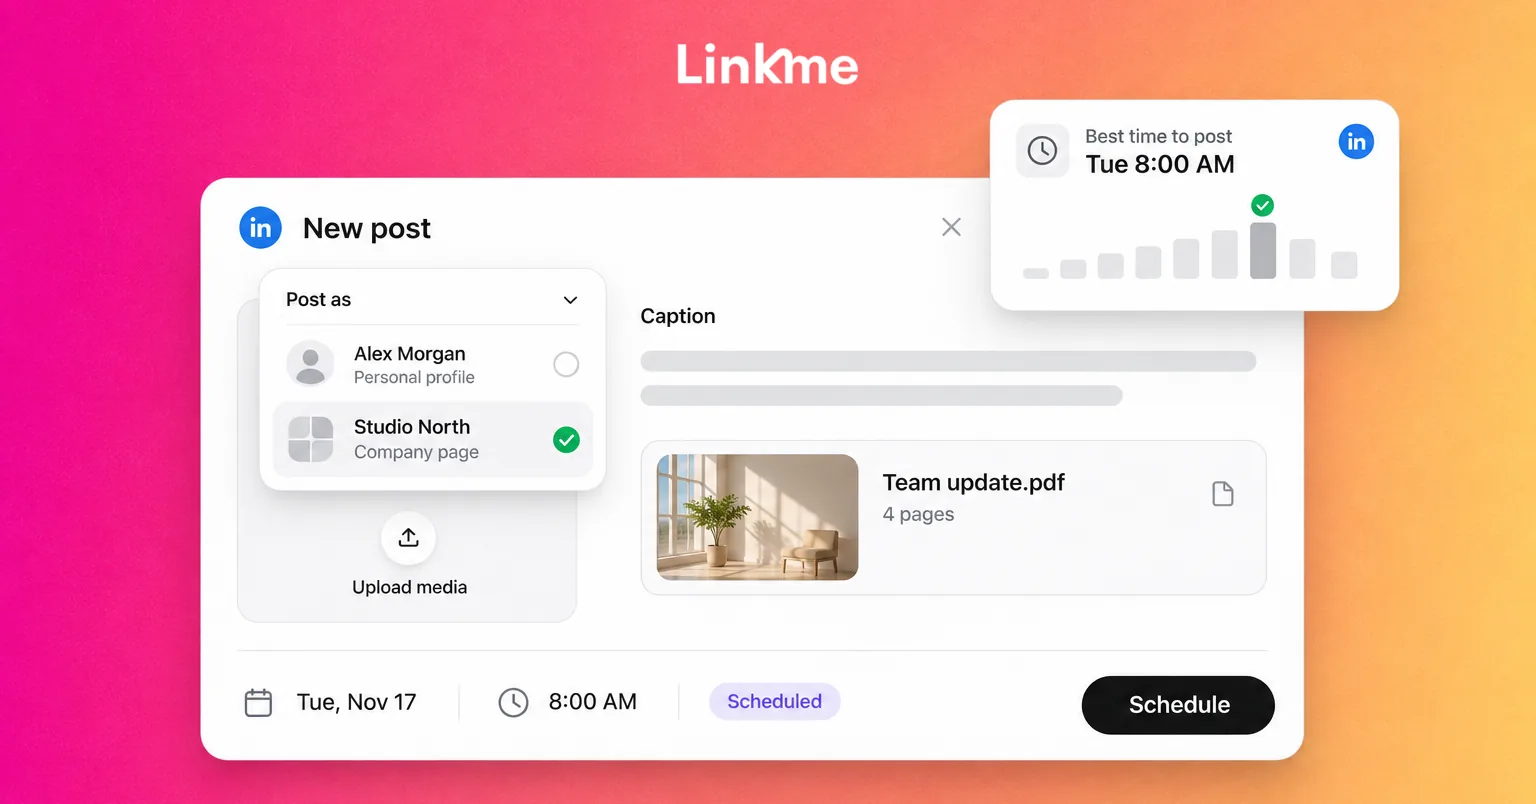
Open Post to All or the composer in your Business Plan workspace. Connect LinkedIn, complete authorization and select the intended destination from the accounts available to you.
Read the account name before continuing. The LinkedIn identity open in another browser tab is not a substitute for checking the destination selected in the composer. Resolve any reconnect warning before relying on a scheduled item.
2. Prepare the LinkedIn copy and supported media
Write the update, add an eligible image or video if useful, and inspect the LinkedIn preview. Check the caption and media limits shown for that destination.
When adapting a campaign from another network, give LinkedIn its own copy where needed. For example, replace an Instagram-style instruction to find a link in the bio with a clear explanation and the relevant destination URL in the LinkedIn update.
Check the actual page the link opens. The resource, offer or announcement should be available when the post goes live.
3. Set the publication date, time and review deadline
Choose the publication date and time in the Business timezone. If your audience is elsewhere, compare the intended local time for the actual future date before saving.
Set the internal review deadline before the publication slot, leaving room for changes. A draft saved for the team to work on is a different state from a post confirmed for publication.
4. Complete any required approval
Confirm the schedule or submit the post for review, depending on your publishing permissions.
Owners and admins can publish directly. Managers need sign-off for accounts where they do not have direct publishing permission; trusted managers can be granted publish-without-approval access. Where review is required, a reviewer approves the post or requests changes.
If your team needs to review posts before publication, use that workflow for the handoff. After a caption or time change, check whether the post needs renewed approval.
An overdue post can publish after approval. Before approving a time-sensitive item whose planned slot has passed, check that the announcement is still relevant and that the intended release time is correct.
5. Confirm the queue entry and publication status
Open the saved item and check its LinkedIn destination, scheduled time and review state. After the publication slot, inspect the destination’s status and the actual LinkedIn post.
If other networks publish successfully while LinkedIn fails, read the LinkedIn error and fix that issue. Check for an existing live copy before retrying the failed destination. A post still processing or awaiting review needs a different action from a failed publication.
How to schedule a post on your personal LinkedIn profile
Schedule a profile post on desktop
- Open your LinkedIn homepage and select Start a post.
- Write the update and prepare the content you want to share.
- Select the Clock icon to open scheduling.
- Choose a date and time between 10 minutes and three months ahead. You can enter an exact time rather than use a dropdown increment.
- Select Next and review the scheduled time shown above the post.
- Check the content, then select Schedule.
- Look for the scheduling confirmation and check the saved item in your queue.
LinkedIn’s native scheduling instructions explain this profile workflow. Its scheduled times use your device’s timezone settings, so check those settings when working while traveling or preparing content for another region.
Schedule a profile post on mobile
- Tap Post in LinkedIn’s navigation.
- Compose your update and add the content you want to share.
- Tap the Clock icon.
- Choose the publication date and time.
- Tap Next and review the scheduled time and post.
- Tap Schedule, then check the confirmation.
This is the ordinary-post workflow. LinkedIn’s article editor is a separate desktop workflow.
How to schedule a LinkedIn company Page post
Page scheduling requires super admin or content admin access. Check the Page name before starting so the announcement comes from the intended business.
Schedule a Page post on desktop
- Open the Page’s super admin or content admin view.
- Select Page posts in the left menu.
- Select Start a post.
- Open the scheduling icon to display Schedule post.
- Choose a date and time from one hour to three months ahead. Check the location-based time; you can enter an exact time.
- Select Next to return to the preview.
- Finish composing the post and review its copy, attachment and Page identity.
- Select Schedule, then confirm the saved publication time.
Schedule a Page post on mobile
- Open the Page’s super admin or content admin view.
- Tap Dashboard and choose Page posts.
- Tap Post.
- Open the scheduling icon.
- Choose the publication date and time.
- Tap Next, then finish composing and review the content.
- Tap Schedule and check the saved item.
The Page-specific timing and format requirements apply to both versions. If a Page post cannot be scheduled, check its format and your admin role while keeping the intended company Page selected.
Find, edit, reschedule or delete a scheduled LinkedIn post
Use the queue in the account and tool where you scheduled the post. This also helps you avoid changing the wrong item or creating a duplicate.
Manage a native profile post
On desktop, open Start a post → Clock → View all scheduled posts. On mobile, open Post → Clock → View all.
Select the scheduled item’s More menu for Edit post or Modify schedule. Use Edit post for supported content changes and Modify schedule to change the publication time.
To cancel the scheduled item, use the Delete icon beside it and confirm the deletion.
Complete the save or confirmation steps shown after editing. Reopen the queue to check the revised content and publication time.
Manage a native Page post
Open the correct Page’s admin composer through Page posts, then its scheduling control and View all scheduled posts. On mobile, use View all from the Page’s scheduling screen.
From the item’s More menu:
- Edit post: change the supported content or settings, then select Schedule to save.
- Modify schedule: choose the new date and time, select Next, then Schedule.
- Post now: deliberately release the item immediately when that is your intention.
- Delete post: cancel the scheduled item and confirm deletion. A deleted Page item cannot be recovered.
Eligible Page admins can also manage posts scheduled by other Page admins. Recheck the saved item after any change, especially when several people work on the same queue.
Manage a Linkme post
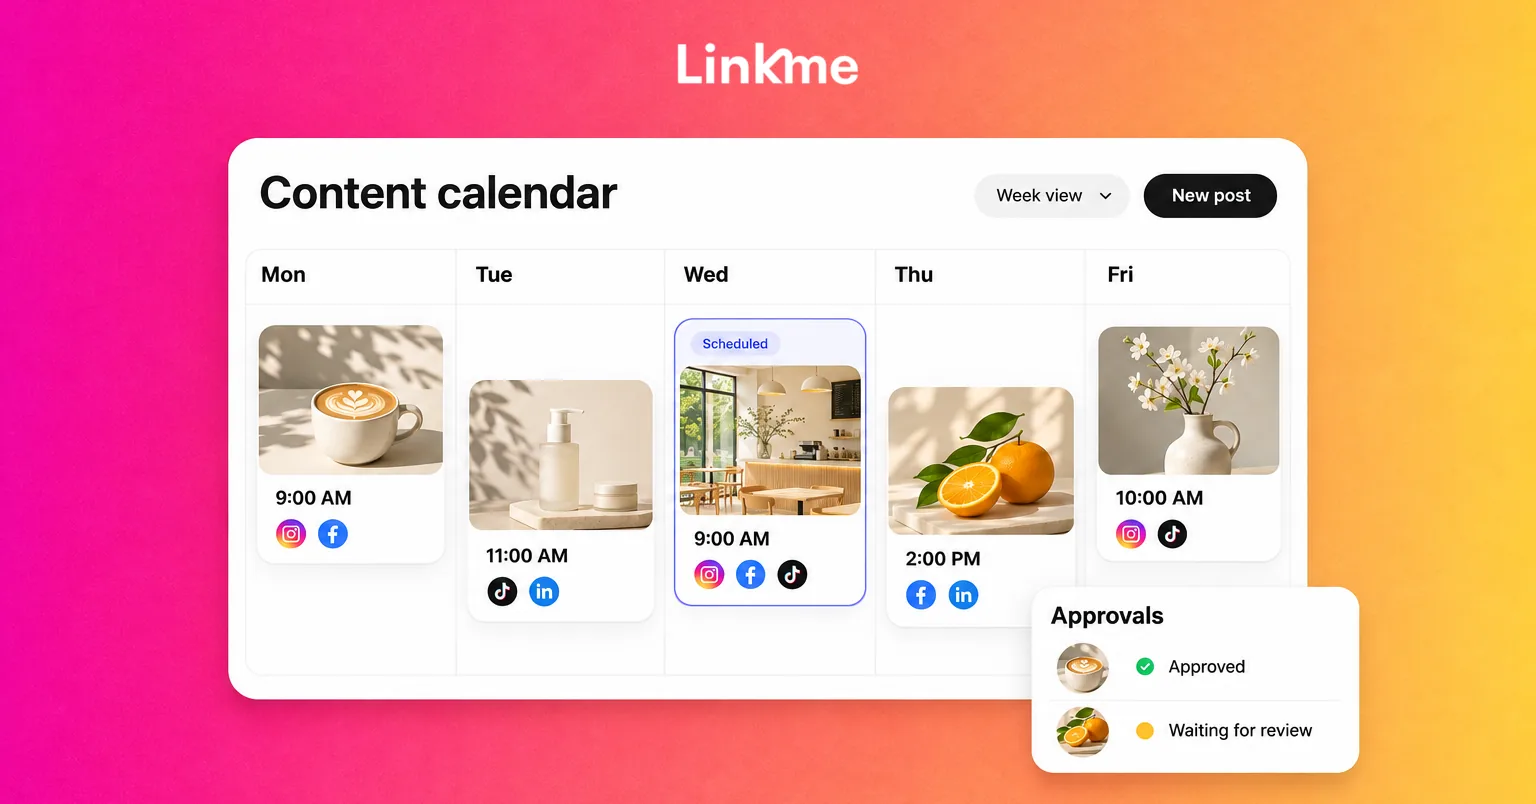
Open the scheduled item in Plan, the calendar or post history. Update the supported caption, time, review deadline or campaign fields, check whether review has renewed, and save the resulting schedule. Use Cancel when the item should no longer publish.
Manage the queued item in the workspace that holds it. Do not rely on an edit in native LinkedIn to update a Linkme queue entry, or look for a not-yet-published Linkme item only in LinkedIn’s native queue.
Editing copy or changing time is also different from replacing the attached media. Check the available controls before planning a replacement.
Why your LinkedIn post will not schedule or publish
| Issue | What to check and do next |
|---|---|
| The scheduling control is missing | Confirm whether you are in the personal-profile or Page workflow. For a Page, check your admin role and whether the post format supports scheduling. |
| The date or time is rejected | Check that route’s available range. Native profiles have a ten-minute minimum; native Pages have a one-hour minimum. |
| The publication time looks wrong | Compare the saved time with device/location settings in native LinkedIn or the Business timezone in Linkme, including the future date. Correct a queued item; assess a correction to an already-published post separately and fix future settings. |
| The intended Page or account is unavailable | Check the selected identity, authorization and access. In Linkme, resolve connection warnings before relying on the schedule. |
| A native Page photo set or poll will not schedule | Check the Page-specific format exclusions. Do not assume a restriction applies to every profile or publishing route. |
| A Linkme post is still waiting | Check approval, requested changes, paused state and processing. Complete the action required by its actual status before treating it as failed. |
| The queued item cannot be found | Check the account and tool used to schedule it, then review the selected date and filters. |
| Other networks published but LinkedIn failed | Read the specific error, correct it and check for an existing live copy. Retry the failed destination rather than republishing successful destinations. |
A practical business scheduling example
Suppose a professional-services firm is releasing a project-planning guide. Its marketer prepares an ordinary LinkedIn update with a single image and a link to the guide’s landing page.
This hypothetical workflow shows how preparation, review and scheduling fit together:
| Stage | Who does what |
|---|---|
| Prepare | The marketer drafts the announcement for the connected LinkedIn destination and checks that the image, copy and resource link are correct. |
| Review | A reviewer checks the factual claims and destination before the internal deadline, where sign-off is required. |
| Schedule | The marketer saves the future Business-timezone slot and confirms its queue state after any required approval. |
| Change | If the guide’s release moves, the marketer updates the time and the reviewer completes any renewed review. |
| Verify | The marketer checks the LinkedIn status and live post before treating the announcement as published. |
The same preparation principle applies to native scheduling: check the publishing identity, content and saved time before leaving the item in the queue.
Before a post is ready, confirm:
- The correct personal profile, company Page or connected destination is selected.
- The attachment is supported by the chosen route.
- The text and destination link are accurate.
- Audience or visibility settings match the intended publication, where available.
- The date, time and timezone are correct.
- Any required approval is complete.
- The saved queue entry shows the intended release.
- Someone is responsible for checking the actual publication.
Frequently asked questions
Do I need a third-party scheduler for LinkedIn?
No. LinkedIn provides native scheduling for personal profiles and eligible Page admins. A business workspace is useful when shared preparation, required reviews and coordination across connected networks fit your team’s work.
How far ahead can I schedule a LinkedIn post?
Native personal-profile scheduling runs from 10 minutes to three months ahead. Native Page scheduling runs from one hour to three months ahead. In Linkme, use the range available in your composer and confirm the saved time.
Can I schedule LinkedIn posts from my phone?
Yes. You can use the ordinary native profile and Page workflows described above. Page scheduling requires the appropriate admin role. LinkedIn articles use a separate desktop editor.
Can I edit a scheduled LinkedIn post?
Yes. In native LinkedIn, open the scheduled item and use Edit post for supported content changes or Modify schedule for its date and time. Complete the save action and check the revised queue entry. In Linkme, caption or time changes may require renewed review.
How do photo carousels, documents and LinkedIn articles differ?
A photo carousel contains multiple images. A document post uploads a file such as a PDF, while a LinkedIn article uses its own publishing editor. Native Page scheduling excludes multiple-photo posts, and article/newsletter scheduling belongs to the separate article workflow.
In Linkme, use the supported photo or video options for the selected LinkedIn destination. A photo-carousel option is not a PDF-upload option. For a document, check the document-specific publishing options in the intended native destination.
Keep preparation, review and publication connected
Choose the route that fits the posting identity and content, then confirm the saved schedule and check the public result. A clear review deadline and one place to manage changes help the team act on the same version of the post.
For teams coordinating upcoming content, required reviews and other connected networks, Linkme for Business brings those publishing tasks into a shared workspace. You can book a demo to see how it fits your team’s workflow.